
Here are some pictures of the new briefcase as the first one ended up being too small (for using desktop parts) for sufficient cooling to be installed in the time frame I had to complete the project.
This is a picture of the original Desktop's front panel connectors.

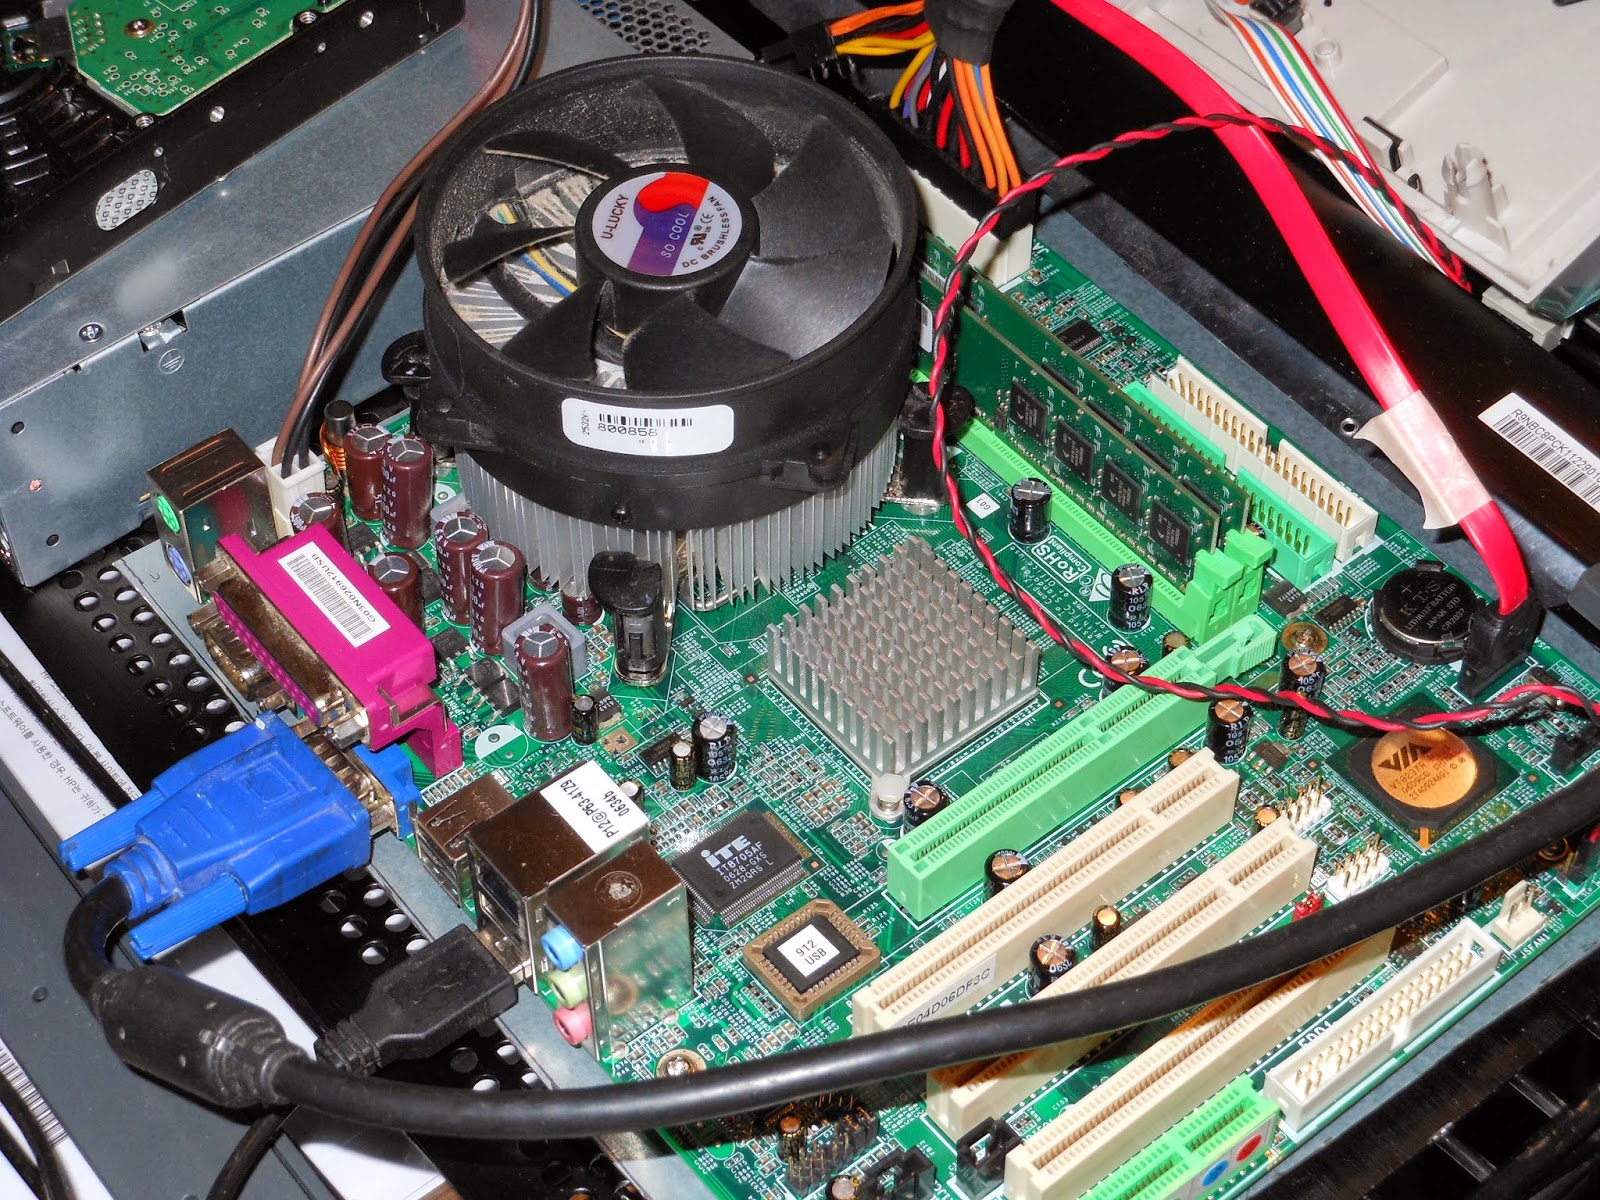
This is the motherboard mount I re-prepared for my desktop motherboard.

This is a side view of the board to show how it is mounted, and showing the height of the heat sink and CPU fan.


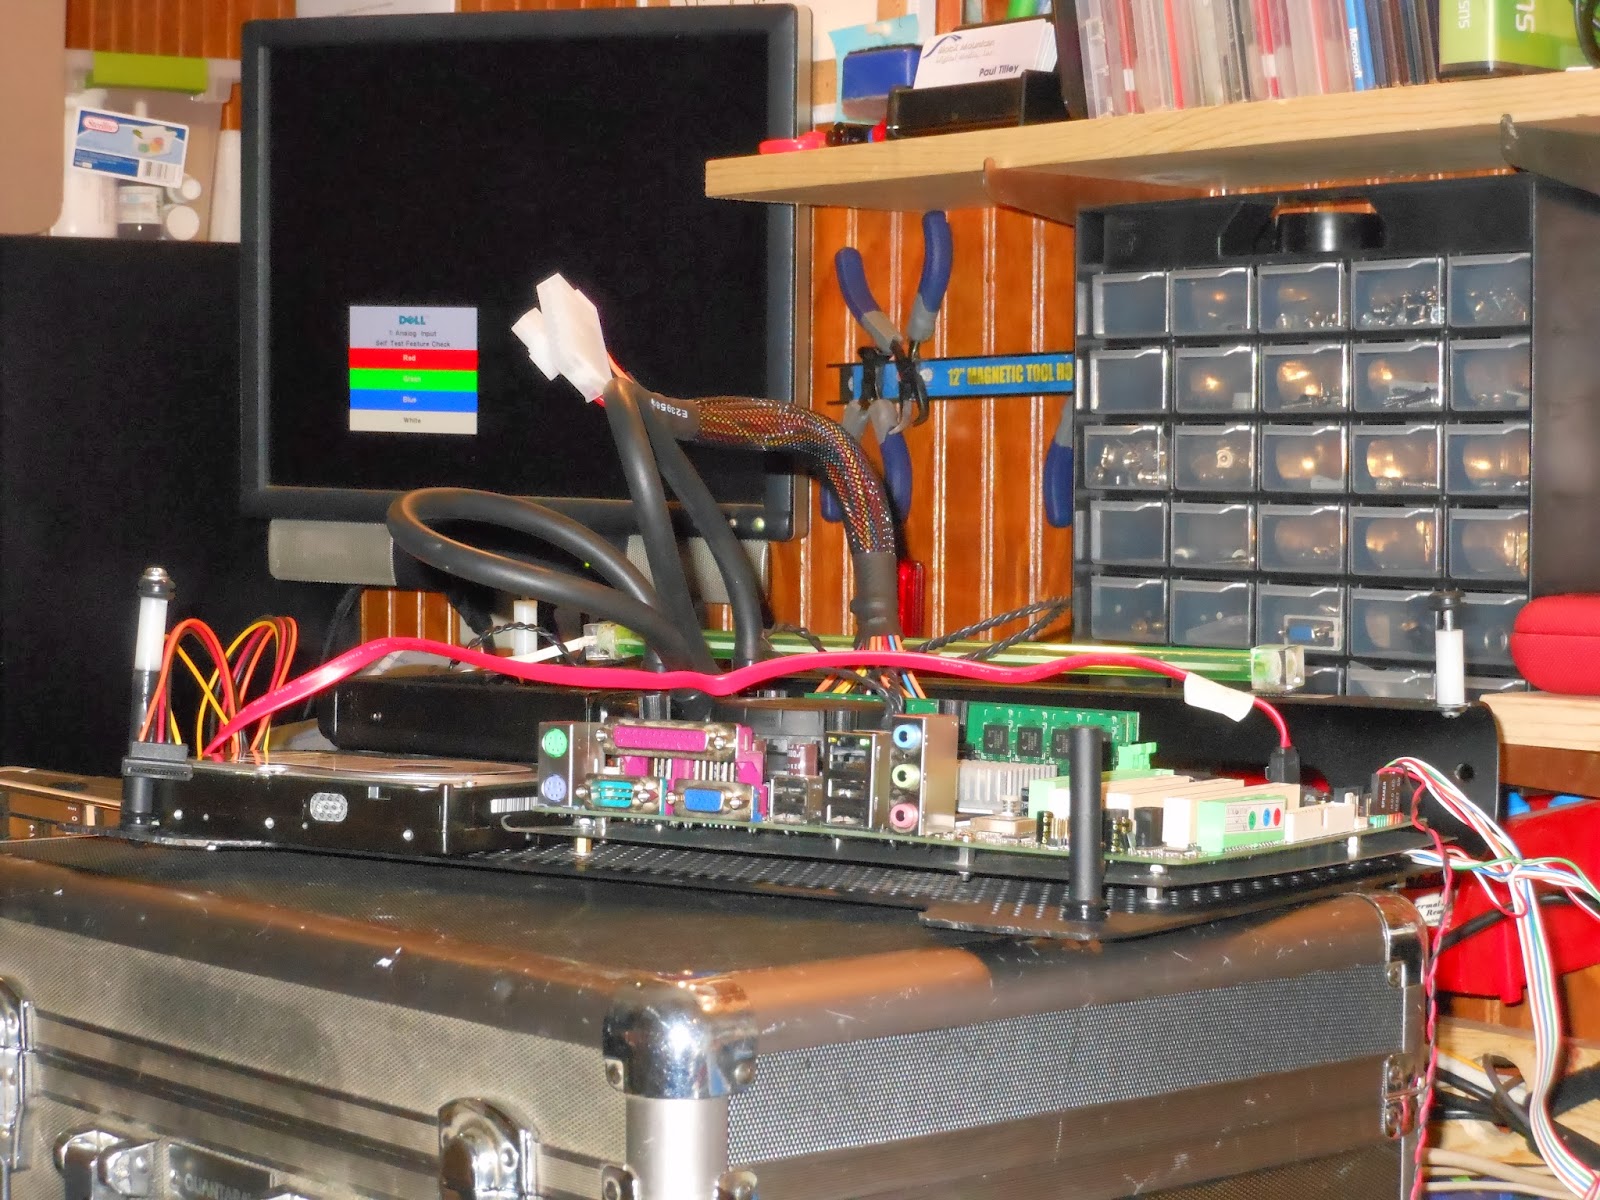
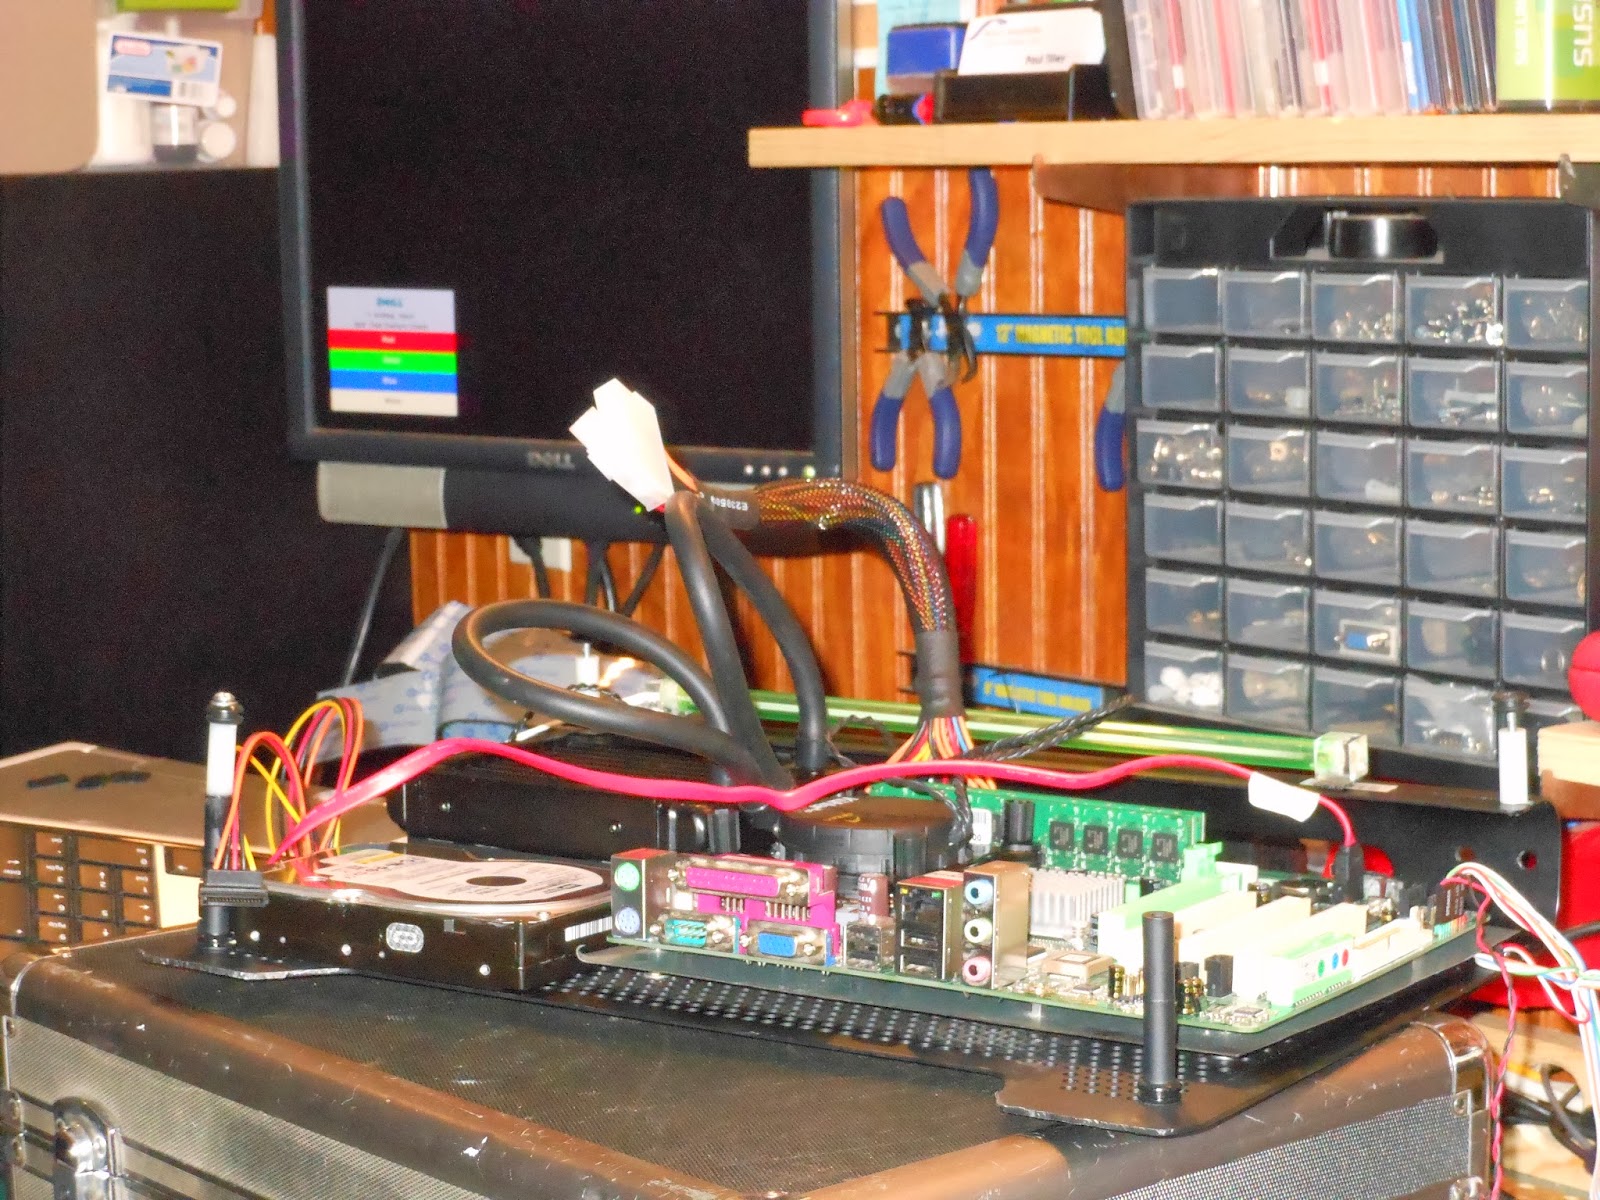
Larger shot to show it booting.

I have the front panel rigged up to the board for testing.


I am using a USB monitor to avoid dealing with another power supply. There is only one fallback to using this screen: You do not see the bios or the windows loading screen, because the monitor doesn't activate until the windows login screen.

Here the new water coolant system is shown mounted, and I am in the bios using the on board VGA to test the temps. WAter cooling wasn't necessary because of temperature, but it offered the most efficient and low profile cooling that I could find in under a week.

The SATA cable barely spanned the length I needed it to in order to fit the HDD there, but it worked!
The screen is mounted in the case with Velcro and is fully removable, but will not come off unless pulled really hard. The USB mount is higher up to facilitate the USB wireless card's range, as it significantly improved when it was higher in the case.

Being a true nerd, I could not resist, even in the short amount of time I had, putting lights in the case.

I added an exhaust port that would pull the air through the case, and keep the inside of the case from heating up.

Overall I enjoyed this project, but I regret the quick fixes I had to make on account of the limited time I had to complete the project. The finished product has to be plugged into a wall, whereas it wouldn't have if it were made out of the laptop components.
The Solar Panel that I had included earlier in the project became a little less useful. Originally it had recharged the laptop battery, and extended the battery life 4 or so hours, but at this stage it just became a way to supplement powering fans with a small battery and a switch. This is pretty useless, but I had already included "Solar Powered" in my project title for school, so i could not back out, and I had to find some way to integrate it some way.
Realistically, looking back I could have done a better job in several areas, but as a first mod project I think I did well. I will probably end up using the parts elsewhere. I will use the liquid cooling in my gaming rig, and also probably use the screen somewhere else too. I want to reuse the motherboard somewhere, but it is a rather older board, so I do not know. The hard drive has a valid XP install on it, so I will probably just use it as a fileserver/backup/storage machine.
Realistically, looking back I could have done a better job in several areas, but as a first mod project I think I did well. I will probably end up using the parts elsewhere. I will use the liquid cooling in my gaming rig, and also probably use the screen somewhere else too. I want to reuse the motherboard somewhere, but it is a rather older board, so I do not know. The hard drive has a valid XP install on it, so I will probably just use it as a fileserver/backup/storage machine.
No comments:
Post a Comment